Inspire Creation | Smart Connection
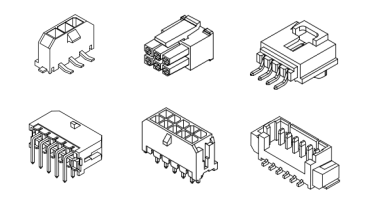
Wire connectors are essential components that join electrical wires to create secure, reliable circuits. Whether you’re working on electronics, automotive projects, or home repairs, they ensure power flows safely and efficiently. At LDZY Electronics, we specialize in alternatives to Molex and JST connectors, offering solutions for all kinds of applications. Curious about how to install them? This guide has you covered.
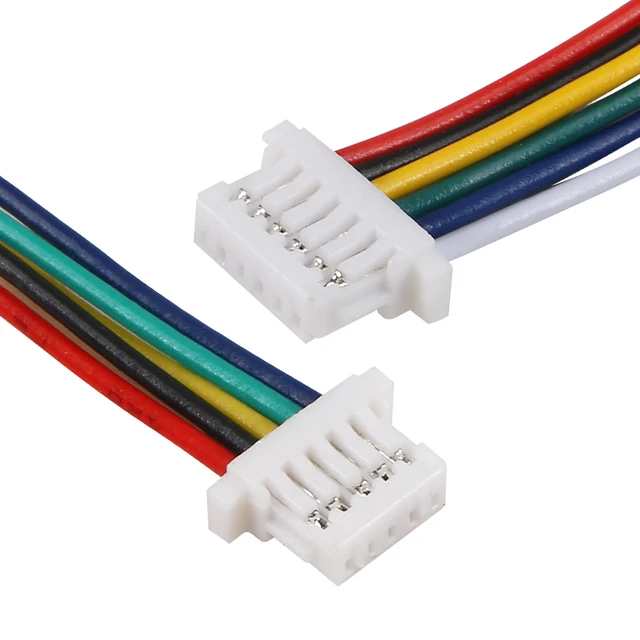
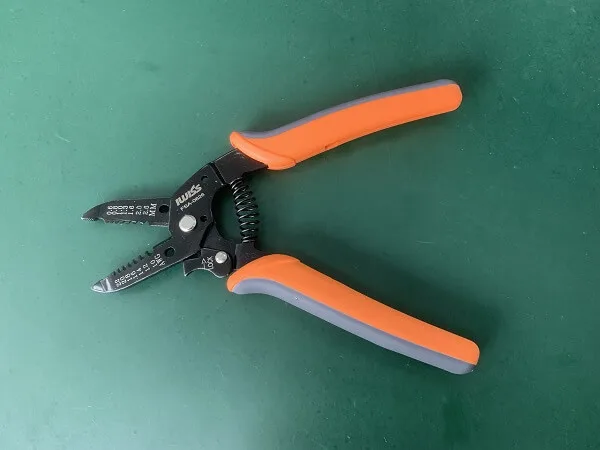
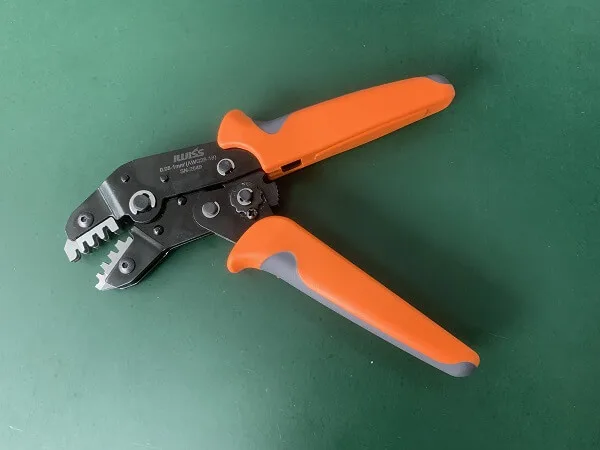
To install wire connectors properly, gather these essentials:
Compatibility is key—mismatched wires and connectors can lead to loose connections or failures. Double-check specs before starting.
Follow these steps for a reliable wire connector installation:
Use wire strippers to expose the conductor (typically 3-5 mm, based on terminal specs).
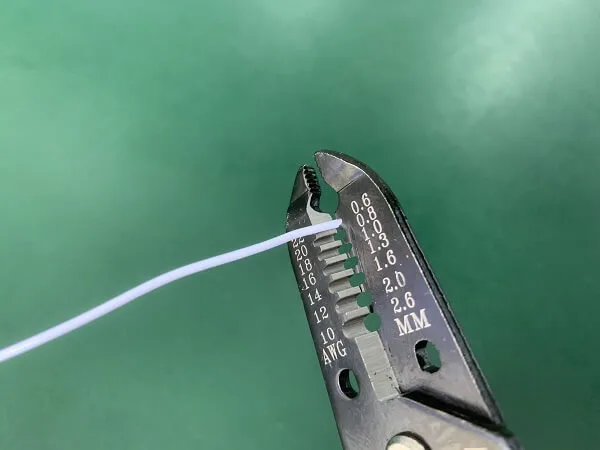
Mistake to Avoid: Over-stripping exposes too much wire, risking shorts.
Insert the stripped wire into the terminal, and crimp it.
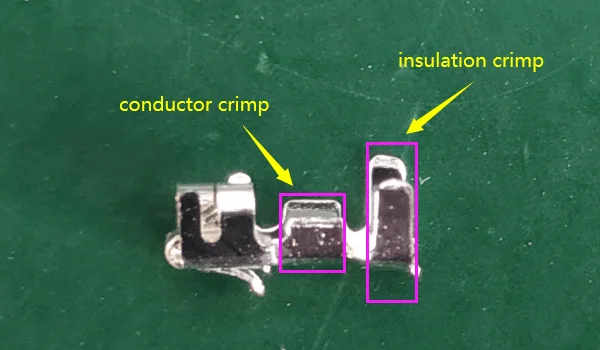

Tip: Centralize the wire strands for a uniform, strong crimp.

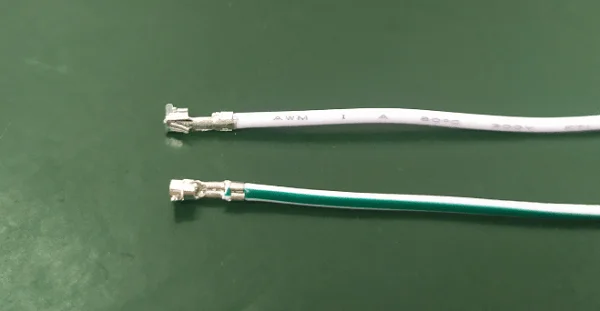
After crimping:
Insert the crimped terminal into the wire connector, ensuring the correct insertion direction so the locking tang on the terminal hooks securely onto the connector.
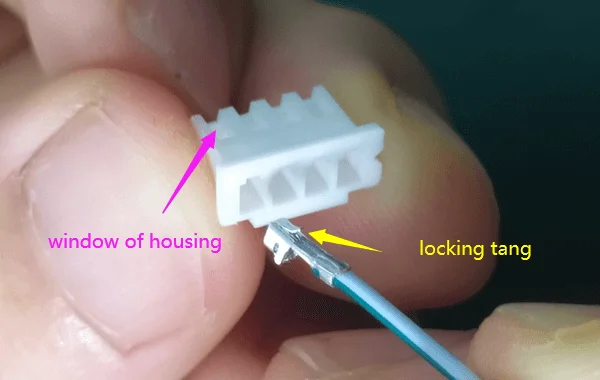

Tip: Align carefully to engage the lock.
Mistake to Avoid: Wrong direction prevents locking—double-check orientation.
Attach the terminal to the connector and tug gently to ensure it’s locked in place.
Tip: A quick pull test confirms reliability.
Mistake to Avoid: Skipping this step risks missing loose connections.
This process works great for hobbyists and DIYers handling small quantities. For mass production, LDZY's clients rely on fully automated systems and advanced testing for precision and scale.
Installing wire connectors the right way guarantees safe, durable connections—whether it’s a one-off project or a larger build. Ready to get started? Contact LDZY Electronics for top-quality connectors and custom solutions tailored to your needs, from small batches to industrial-scale production.